In this section, you can share a screen or browser tab, use a Whiteboard, Miro board, YouTube videos, upload and demonstrate various files and presentations.
All content can be downloaded both - before and during the meeting.
Screen sharing
To demonstrate the screen, click the "Screen sharing" button.
Select the "Screen sharing" section, and from the pop-up window select "Your entire screen", click on the screen window below and press the "Share" button.
You can share what's on your screen in full-screen mode, "program window" mode, and browser tab mode.
Whiteboard
Whiteboard will make your meeting significantly more interesting. Enjoy the creative process. Draw charts, graphs, diagrams: the board will tolerate any doodle :).
Use tools like pencil, lines, ellipse, rectangle, writing text, etc. Change the board background color or interface language.
More detailed information about the Whiteboard can be found in the article.
Miro board
Miro is an interactive virtual board with many tools. With the help of the Miro board you can not only visually show something to participants, but also organize projects and teamwork, visualize the process, brainstorm, and, finally, conduct an exciting, interactive lesson.
More detailed information about the Miro board can be found in the article.
YouTube
To demonstrate YouTube content, click on the corresponding button, insert a link (to the video or broadcast). Then click the "Share" button.
Everyone can watch the video with you this way. It is very convenient to view content simultaneously, given that chat continues to be active.
Files
You can upload, manage, and demonstrate any files from this section. Proficonf supports all popular document formats, presentations, images, audio, and video files. Which ones exactly?
Supported file formats and size:
All content goes through a quick conversion process immediately upon download. You can demonstrate it right away.
Pay attention: you can share, download, or delete the files right from the files section of the Demonstration center:
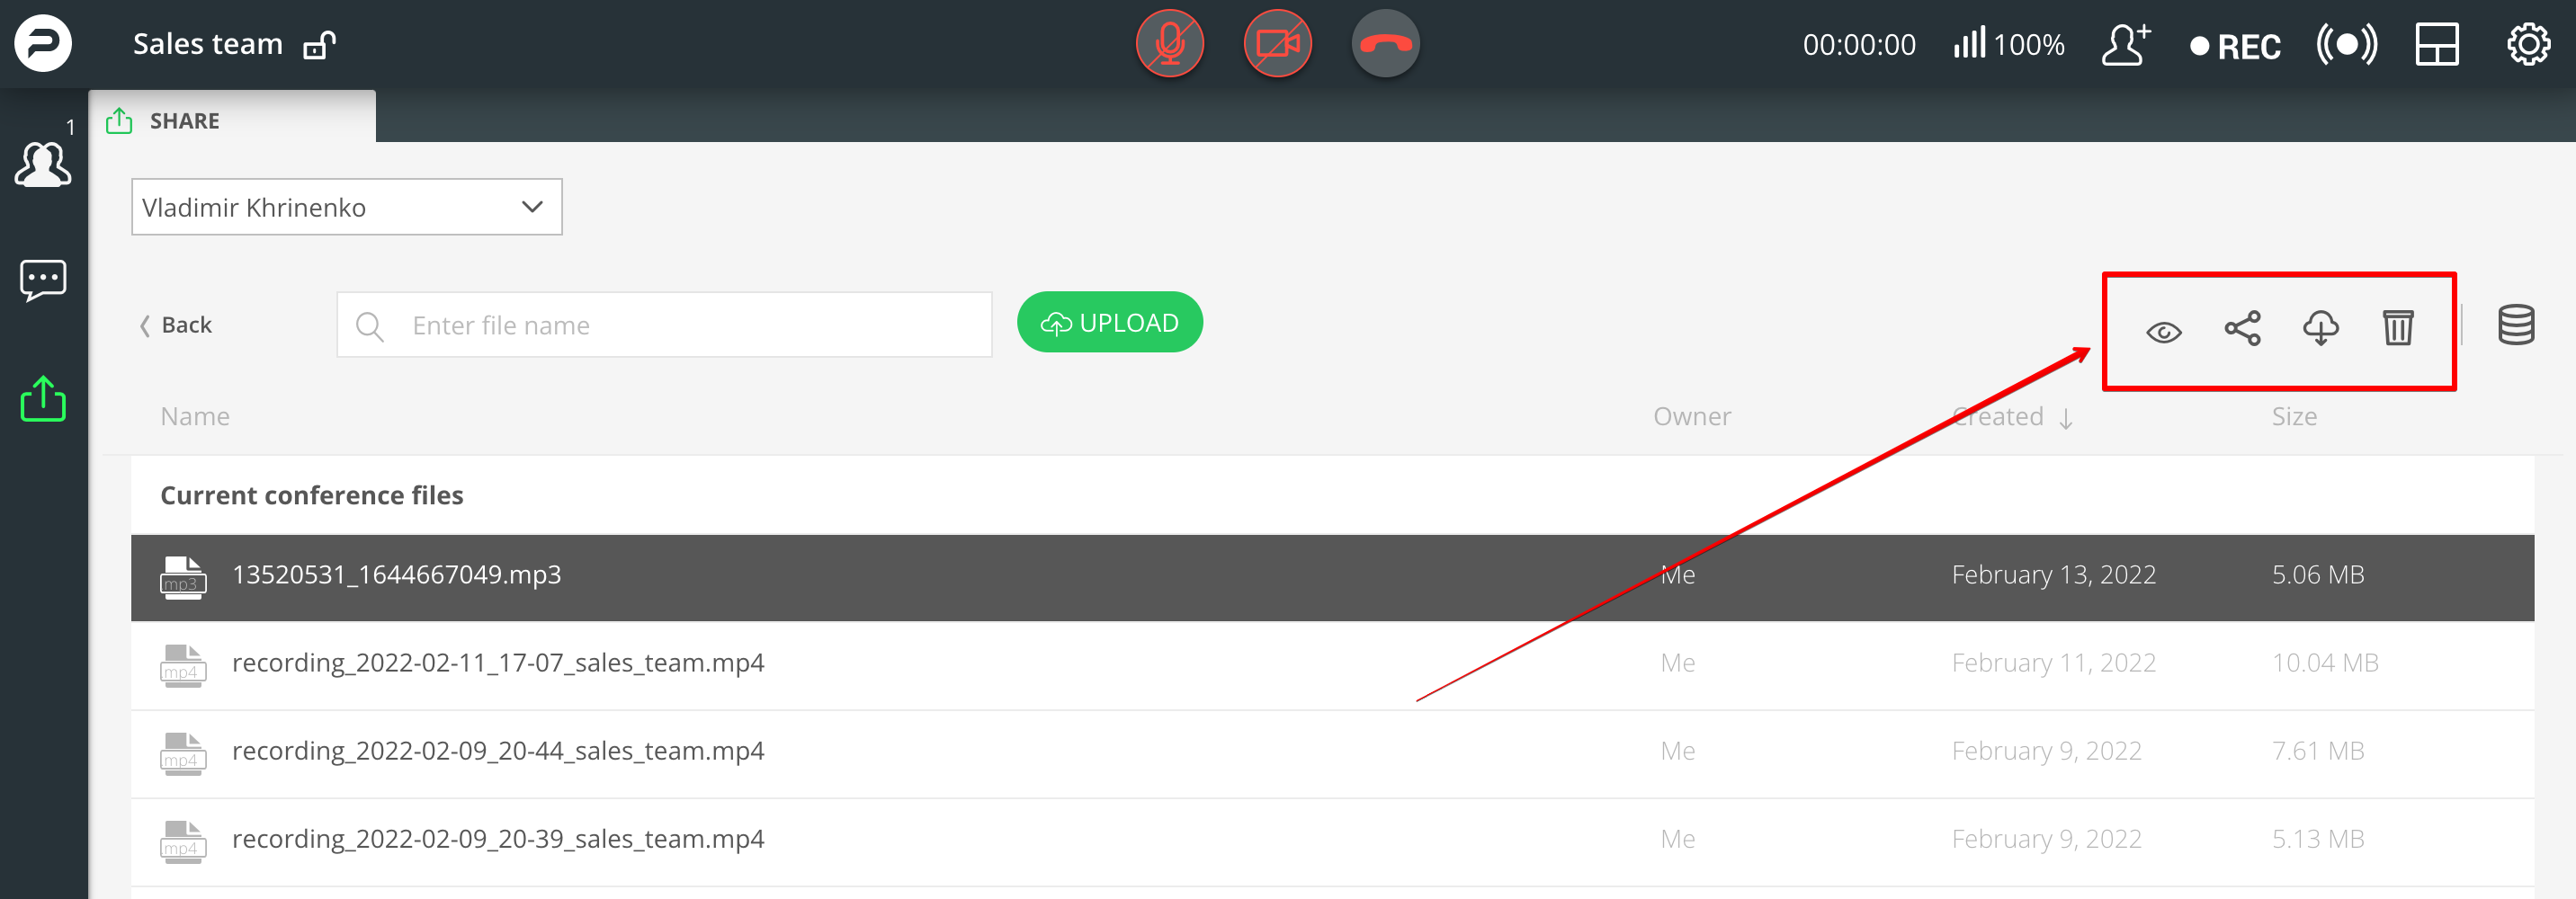 To share a file pick the file you wish to share, click the Share button in the menu up in the right corner of the screen. Once you do a Share option will appear on the right from the file. It will look something like this:
Once you do that, a "Sharing" button will become available in the conference room for your participants:
To cancel the sharing option of a certain file just click the Share button in the upper right corner of the File menu. The folder icon in the conference room will disappear.